
A year ago, I wrote a guide for the original 1998 Resident Evil 2 (and its ports) as a way to help any fans looking for the best way to enjoy the original game. Here, I’ve done the same for its sequel, Resident Evil 3: Nemesis, for anyone looking to charge through the original before taking on the remake. Resident Evil 3, the 2020 remake of the original 1999 PlayStation title, already looks like it will be deviating tremendously from what we know, so there’s still plenty of reason to jump back into the game that started it all.
Here’s everything you need to get started playing the original version, and I’ve broken it down into categories: Platform, Strategies, and Secrets. Each of these is broken down into subcategories of their own, to make it easier to find something specific (want a better grasp of the dodge system? Scroll to Strategies, etc). Without further ado, let’s dive into Resident Evil 3: Nemesis.
Platform
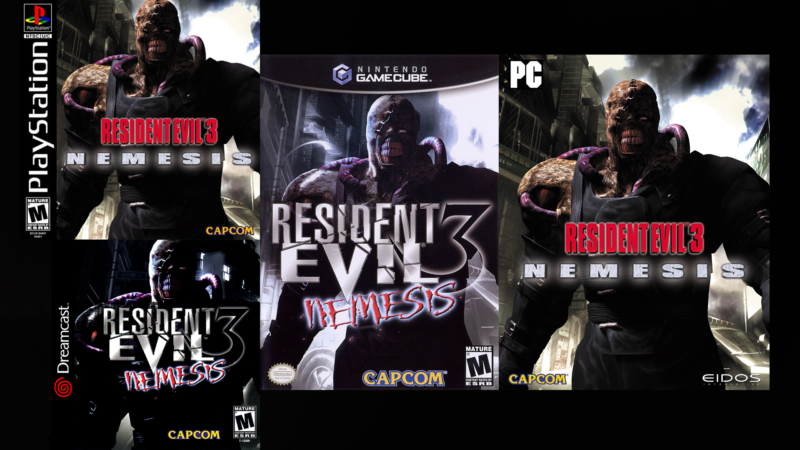
Unlike Resident Evil 2, which released on six platforms (not counting weird de-makes like the GameCom version) and twice on the original PlayStation, Resident Evil 3: Nemesis only released on four, and of those four there aren’t many major changes. While Resident Evil 2 added bonus modes, costumes, files, and more, RE3 mostly centered on small technical differences and availability of content already in the game.
PlayStation
This is the original 1999 launch version. As vanilla as it gets, this version includes the main game and all bonus content, but the bonus content requires a full playthrough in order to unlock it. This was the first Resident Evil game to release with full analog support at launch, so there is no “Dualshock” re-release or anything like that. This version can run you about $10 to $30 used depending on where you shop, or you can get it as a digital download on PlayStation 3, PSP, and PS Vita (including the Vita TV) for $5.99 — making this the easiest and cheapest version to purchase today.
PC
This version released the following year, in 2000. It retains all of the content from the PlayStation version, albeit with enhanced visuals. The polygon count and texture resolution are much higher than the PlayStation version, and the PC release allows for a 1600×1200 resolution (which was very high for the year 2000), although the backgrounds won’t get any sharper, which might be immersion-breaking for some. The other major difference is that the Mercenaries mode is unlocked from the start, as well as all of the alternate costumes and the addition of two new costumes. It is worth noting, however, that the PC version is complete abandon-ware, and will require going out of your way to find — not to mention running — a copy.
DreamCast
The Dreamcast version is actually almost identical to the PC port, albeit obviously unable to run at the higher resolution the PC could support. This version was also released in 2000, only a few months after the PC port, and all of the same content changes are present — Mercenaries and all costumes are unlocked from the word go, and it includes one of the new costumes from the PC port along with an exclusive one. The main difference here is that it carries over the fun VMU functionality from RE2 on Dreamcast. The VMU card in the controller will display health and ammo, which effectively gives the game a HUD, while all other versions would require checking the inventory screen to see those stats. Pretty neat, although I’m not sure it’s worth hunting down a $50-$80 copy of it for.
GameCube
The GameCube was the game’s final port. This version scales back a bit, and aside from enhancing the graphics somewhat and adding in a brightness option in the menu, not much is changed. Mercenaries and the unlockable costumes require unlocking through normal play, and all of the costumes added in the PC and Dreamcast ports are MIA. I personally prefer having to play to get them, but to each their own. They also changed the title call (they did the same for RE2) for the GameCube release, presumably to try and match it up closer to the more monstrous one from REmake 1, as well as adding the digit to the call (the original actually leaves out the “three”). So there’s that if you care. The biggest caveat here, though, is purchasing a copy. The two RE ports on GameCube are extremely rare and among some of the most expensive titles on the system. A copy of RE3 on GameCube will set you back $100-$150. Considering it’s almost identical to the PS1 port, I’m not sure it’s worth it.
Strategies
Resident Evil 3: Nemesis is a very different game from its predecessor in almost every respect, other than the very core basics of inventory management and health, and even then there are a few small twists. Some fans consider RE3 to be little more than an expansion to RE2 (due in part to misremembering the time spent revisiting an old location as being longer than it actually is), but I guarantee you it isn’t that. I’ll be going over the core strategies as well as the basics of survival in the hellscape of Raccoon City, in hopes that I can help you on your journey.
Preparing yourself for a fight
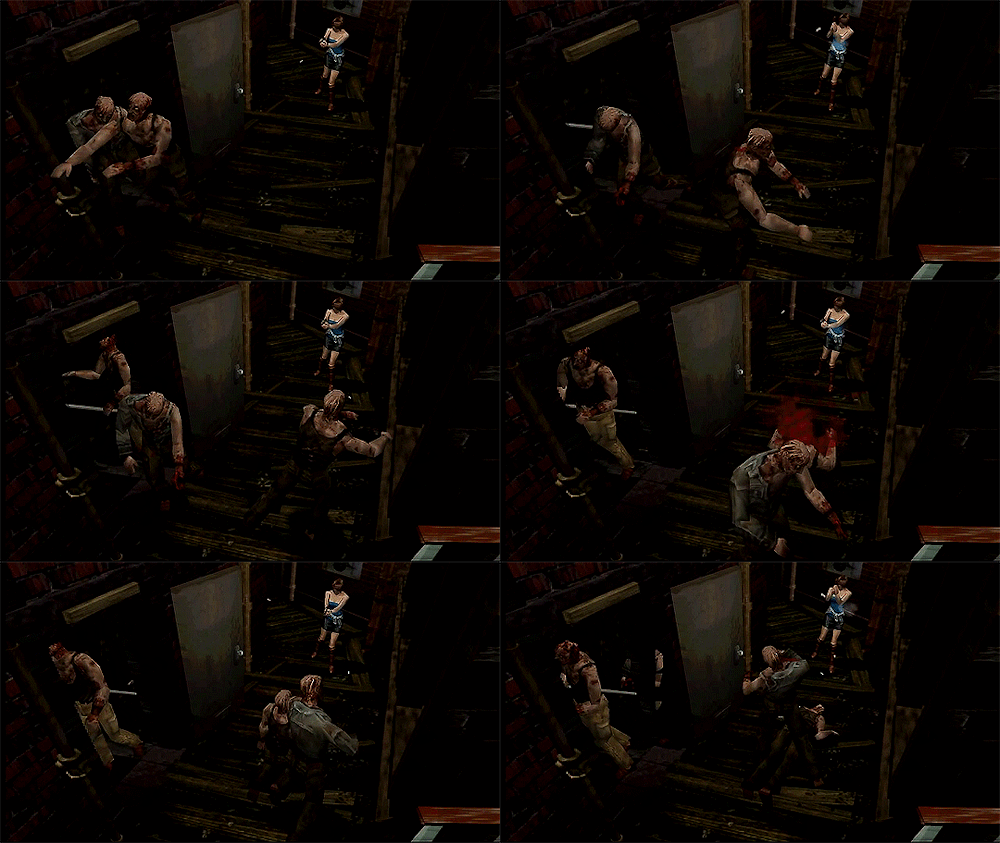
This is the most basic of functions in the game — the “survival” aspect of “survival horror”, as it were. The core concepts are the same as Resident Evil 2, but it’s worth going over them one more time. Unlike the first two titles in the series, RE3 doesn’t feature separate campaigns. Instead, there’s only one, so there’s no need to break down the difference in weapon power between the two characters — you don’t get the same kinds of options. You begin the game with 8 inventory slots (although you will get an expansion that adds two more after a certain amount of progress), so gameplay becomes a careful balance of weapons, ammo, health, and puzzle pieces.
For the most effective strategies, two weapons should be carried at all times, along with their ammo. This takes up four of your eight slots, but it’s very necessary to deal with all the different kinds of danger you may face. Jill has access to many weapons throughout RE3, but the earliest ones you’ll be dealing with will most likely remain your main sources of damage output for the duration outside of boss battles.
Jill’s starting weapon is her custom Beretta 92f ‘Samurai Edge’ handgun, the same starting weapon she used in Resident Evil 1. While it fires slowly and requires about 5-6 hits to down the average zombie (not kill, but knock down), it’s a good backup weapon for clearing a path ahead of you, rather than up close and personal. See a zombie standing in your way a yard or so away? Peck at them with your pistol to knock him down, then run up and double (or triple) tap him on the ground until it’s dead. The more zombies there are, the less useful the pistol is, but it may be the weapon with the most ammo half the time.
On Easy Difficulty, you also start with an Assault Rifle, which is a bit overkill but hey. This uber-powerful weapon counts its ammo as a percent value rather than a number of individual rounds and can wipe out a crowd of zombies in just a few seconds. This weapon is also available on Hard Difficulty, but cannot be reloaded, so don’t go spraying willy-nilly like you can on Easy.
The Shotgun is probably the most versatile weapon in the game, as it’s good for mid-range crowd control, as well as insta-gibbing the skull of a too-close-for-comfort zed. Aiming up with this weapon on a close-range zombie is an almost guaranteed kill, so it can sometimes be smarter (and a lot more fun) to let the dead close in on you first. When it comes to crowds, keeping the shotgun at the ready and firing forward can stagger multiple zombies together, allowing you time to either run past them while they recuperate, or close in for a multi-headshot.
The grenade launcher is the third weapon you acquire and is something that you should swap out with the shotgun (not the pistol) when you feel you need it. It has four ammo types — grenade, flame, acid, and freeze. Each does more or less what their names imply, and each is very effective against most low-tier enemies (like zombies). The more powerful, however, the more difficult to acquire the ammo. Grenade and flame rounds are rather plentiful, but acid and especially freeze are extremely rare. Save those for special encounters only.
There’s a variety of other weapons in Resident Evil 3, but few will see as much use in regular, non-boss, combat as these two. Do feel free to experiment with your arsenal, being aware of ammo, of course, which helps us segway into the next aspect of combat, ammo-crafting. This is a feature that takes a very big center-stage in both Resident Evil 2 and REmake 2, but its introduction was actually all the way back in Resident Evil 3, although it functioned very differently. In RE7, you mixed gunpowder with Chem Fluid in order to craft, and in REmake 2 you simply needed to combine two different types of gunpowder to get an ammo type. Resident Evil 3 pushes it one step further, requiring a third item to create ammo. While you mix your gunpowder types first, you require the Reloading tool (which is in your item box form the word go, so don’t worry about finding it) to actually turn the gunpowder into ammo. There are three different gunpowder types in the game, and as such can create an incredibly diverse range of ammo types, from simple handgun bullets to extremely powerful magnum rounds. Unlike RE7 and REmake 2, where there are only four or five possible combinations, RE3 has over twenty. I won’t spoil all of them for you, as you should experiment and see the results for yourself, but a few examples are:
- Gunpowder A+A: 35 Handgun ammo
- Gunpowder B+B+A: 60 Handgun ammo
- Gunpowder A+A+B: 22 Shotgun shells
- Gunpowder A+C: 10 Flame rounds
Use these combinations wisely, as not every gunpowder type is easily found, and once you mix them you’ve committed yourself to eventually making that ammo once you get back to your reloading tool. Sometimes it can come down to being forced to combine so you can pick up a puzzle item, so always be cautious of lugging too much around.
Red Thing Go Boom

The concept of “Red oil drums” is pretty ubiquitous in gaming today, whether they actually look like drums, some weird power cell, or perhaps even imperfections at the base of a pillar. Shoot the thing and it takes out a crowd for a spectacle kill. This was Resident Evil‘s first foray into the wonderful world of blowing up red barrels, and while it’s rare, it can also be satisfying. There is a unique button for aiming at objects (rather than enemies), so a quick tap of that button will pull Jill’s attention directly to a barrel for some fun crowd control.
Since all of the environments are pre-rendered, interactive elements will be noticeably 3D models, even on PS1, where the game is at its fuzziest. This can be helpful, as it’s more than just red barrels. There are other methods of crowd control you may encounter throughout the game, and some methods might appear only once, so be sure to make use of them if you find one. If you even suspect something of being a ‘red barrel’, tap the aim-at-object button to see if Jill snaps to aim at it. It can save your life, rest assured.
Prepare to get hurt

Dishing out damage is key, but making sure you can take it right back is just as important. Generally speaking, you have about 4-5 hits (give or take, based on the type of enemy you’re facing, though some have instant-kill moves) before you are dead. This is displayed in two ways, both immediately apparent in your character’s stance: holding their side when hurt, or holding their side while limping when hurt badly. You can check your inventory menu for a more descriptive (if still vague) diagnosis, showing your health as an Electro-Cardio-Gram (ECG), displaying five health stages:
Fine: 75%-100% health
Yellow Caution: 50%-75% health
Orange Caution: 25%-50% health
Danger: 1%-25% health (heal immediately!)
Poison: This is a status effect that slowly drains your health over time. Your actual health cannot be seen on the inventory as it’s covered up by the status effect, but you’ll still get the same stance changes. While poison will not kill you outright, it will drain you down to Danger in a matter of minutes, which will get you killed extremely fast.
There is also a special status effect you will encounter midway through the game, but what that effect is and how to get yourself back up to Fine I’ll leave for you to discover.
Like every other RE game, the primary methods of healing are Herbs, which come in a variety of colors that grant different effects.
Green: Heals about 25% of your health, good for both bumping yourself up from Yellow Caution to Fine, as well as giving you at least a little breathing room when in Danger. It can be combined with another green herb for a 50% heal, and a third for a 100% heal.
Red: Does nothing on its own (a standard for this item) but can be combined with a single green herb for a 100% heal effect.
Blue: Cures poison, but doesn’t heal the player at all. Can be combined with a green herb to get the best of both worlds, or a red and green herb combo for a full-heal and poison neutralizing mixture.
It’s good to keep at the very least a green herb on you at all times, if not a green herb for minor damage and a red+green mix for major damage. Herbs are one of the most scarce consumables in the entire game, but keeping a sharp eye out and using only when absolutely necessary, you can end up with a plentiful stock by the final sections of the game.
There are also First Aid sprays, which will heal you 100% upon use (although they will not remove poison, you’ll still need to use a blue herb on top of the spray). Unlike every other game in the series, where the F. Aid Spray item takes up an individual inventory slot per spray, RE3 introduces an item called the First Aid Box. This item can hold three cans of First Aid sprays in one inventory slot, easily making it one of the most helpful items in the entire game. This item is already in your item box at the start of the game on Easy difficulty, but you can only find it by defeating a specific enemy type on Hard difficulty. I’ll get into what that enemy is a little later on.
Saving
Saving, like every other element of the game, is based around resource management. Saving is limited to Ink Ribbons, a rare item typically found in sets of three in front of a typewriter, which is used to save. This means that saving itself is literally finite, at least on Hard. On Easy difficulty, you have one, singular ink ribbon that can be used infinitely, while on Hard mode you are forced to find them individually. There are only fifteen sets of three ink ribbons in one entire playthrough on Hard, and about half of those are hidden outside of safe areas. You can easily run out of ink ribbons and be forced to play without saving until finding another one. RE3 (like all classic REs) has no auto-save feature of any kind, and death will reset the player back to the game’s boot-up screen. Saving often but smartly is key. Don’t save after every single success. While you might not have to backtrack as much on death, you can quickly eat through your ink ribbons and end up being worse off for it. You also don’t want to save too infrequently, and potentially have to repeat an hour or more of gameplay.
In general, a good rule of thumb with saving is to do so once after every “major” event. The completion of a puzzle, after a boss fight, and opening up a new area for exploration. All this said, however, ink ribbons can be found in unexpected places, so keep your search button finger poised and be on the lookout for ribbons in the darkest corners of the city.
Raccoon City
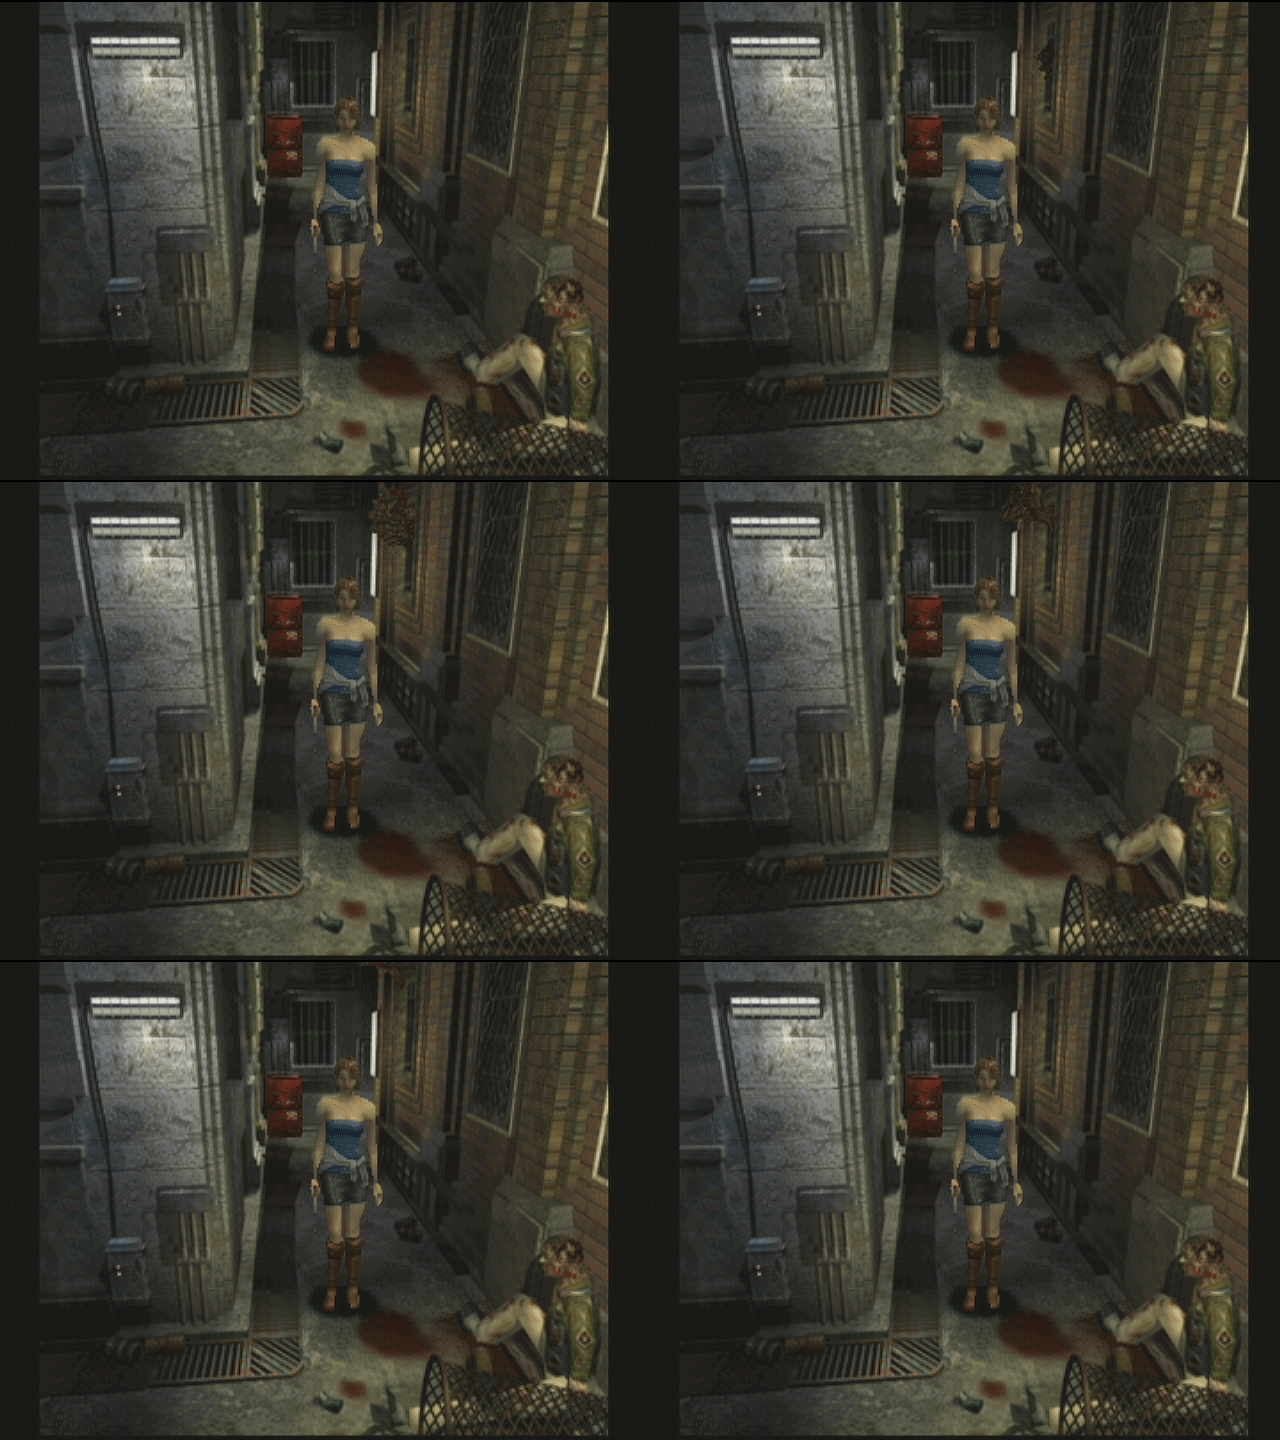
Unlike Resident Evil 1 or 2, there is no “hub” area. The first game had the Mansion main hall, and its sequel used the front hall of the R.P.D. building. These areas were guaranteed to never have any enemies in them, and both offered a typewriter for saving. RE3, however, has nothing like this. You are not trapped inside of a building this time around, instead having several districts of the entire city to explore. Not to say that Raccoon City is ‘open’ to any meaningful degree; in fact, the new design creates a much more linear feel than the back and forth between east and west wings from the original game. The maze-like quality of the previous games is still the law of design here, but it’s due to barricades, disaster areas, and the winding alleyways that string through Raccoon City to begin with. There is no easy, back and forth path across a centralized area you can return to in a pinch. The entirety of Raccoon City is a danger zone, and the only truly safe spaces are the save rooms, dotted throughout the map. It may be a long trek back to safety if you run into trouble, so be cautious, but delving deeper into the unknown is the only way to survive this horror.
Another thing that greatly separates Raccoon City from the Spencer Mansion and R.P.D. building is the dip-toe into what I can only describe as micro side-quests. While that might still be too grand a term, Resident Evil 3 offers a different spin on backtracking than the previous games have had, mostly in that its often somewhat optional. Backtracking in the previous two games was usually something that the game forced upon you, a locked door back in an earlier area that you now had a key for, or going back and forth to bring pieces to a puzzle. RE3 still has all that (especially that second one. good lordy), don’t get me wrong, but there are also smaller pockets of health, ammo, and potentially more scattered around earlier areas that you can find. Some require the use of an item you now have access to, others merely that you head back to check up on how a situation you left behind unfolded. It can be helpful to never assume you’ve 100% completed an area. If something is nagging at you to give it a second glance later, give it a shot. You might be happy with the results.
Live Selection
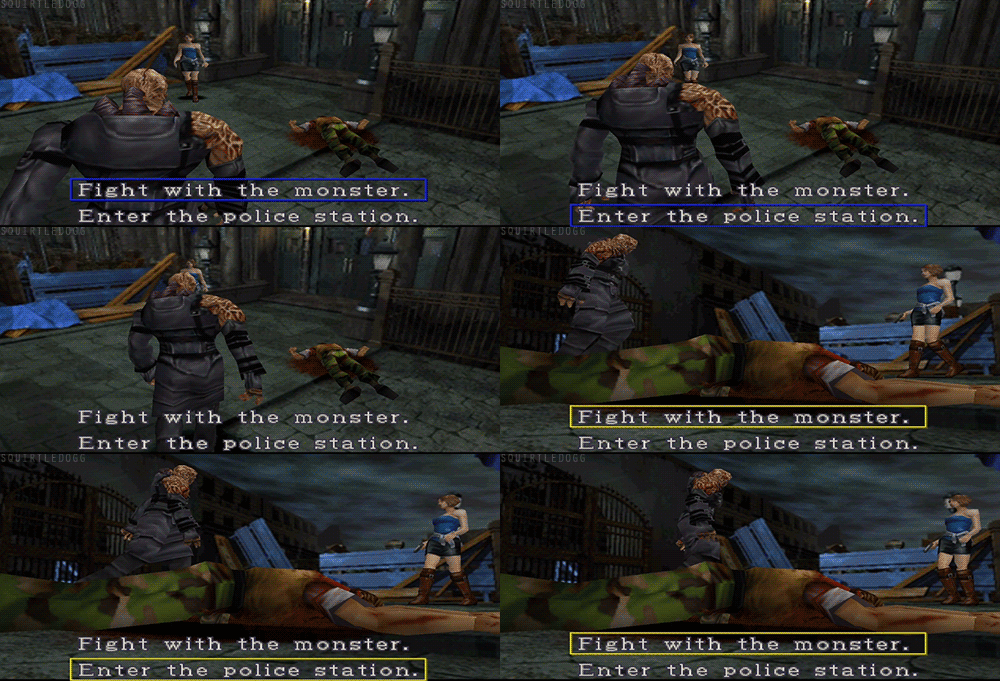
Since Resident Evil 3 was the first game in the series not to include two campaigns, Capcom was very concerned with difficulty. Even to this day, some fans will talk about how little content Resident Evil 3 has compared to RE2, but it has about the same (outside of obviously not having multiple versions of the same cutscene for the two unique characters) thanks to something completely unique to Resident Evil 3: Live Selection. This bizarro take on Quick Time Events is more than simply choosing what to do in that very instance, but can actually have massive ramifications to the story. From the small (being able to access a computer terminal earlier than you would normally) to the major (an entire boss encounter may or may not happen depending on your choices).
These Live Selection choices will pop up at specific moments throughout the story, forcing you to make a decision between two very different options within a time limit. An easy example is the very first one, which offers you the choice between “Fight with the monster” or “Enter the police station.” These two options will change the outcome of this specific event — one in which you stay put, and have an early boss encounter, or duck into the police station and avoid the encounter entirely. The benefits aren’t immediately apparent necessarily, either. While retreating to the safety of the station saves you ammo and health, you’ll miss out on a key card that can circumvent a significant amount of running around — and if you’re playing on Hard, potentially gaining access to a special weapon part.
There are several of these, and each one adds up over time to create a splitting-path butterfly effect throughout the story. Resident Evil 1 actually sort of attempts this, with a few instances of asking a character to come with you (and your answer changes whether or not that character lives) but this is way more advanced. On top of all of that, there’s also the fact that you have the option to make no choice at all, although this will often lead to Jill taking unnecessary damage, so try and chose one before you run out of time. There are also a few secret choices involving where you go and when, so be mindful of the order you do things.
Dodging
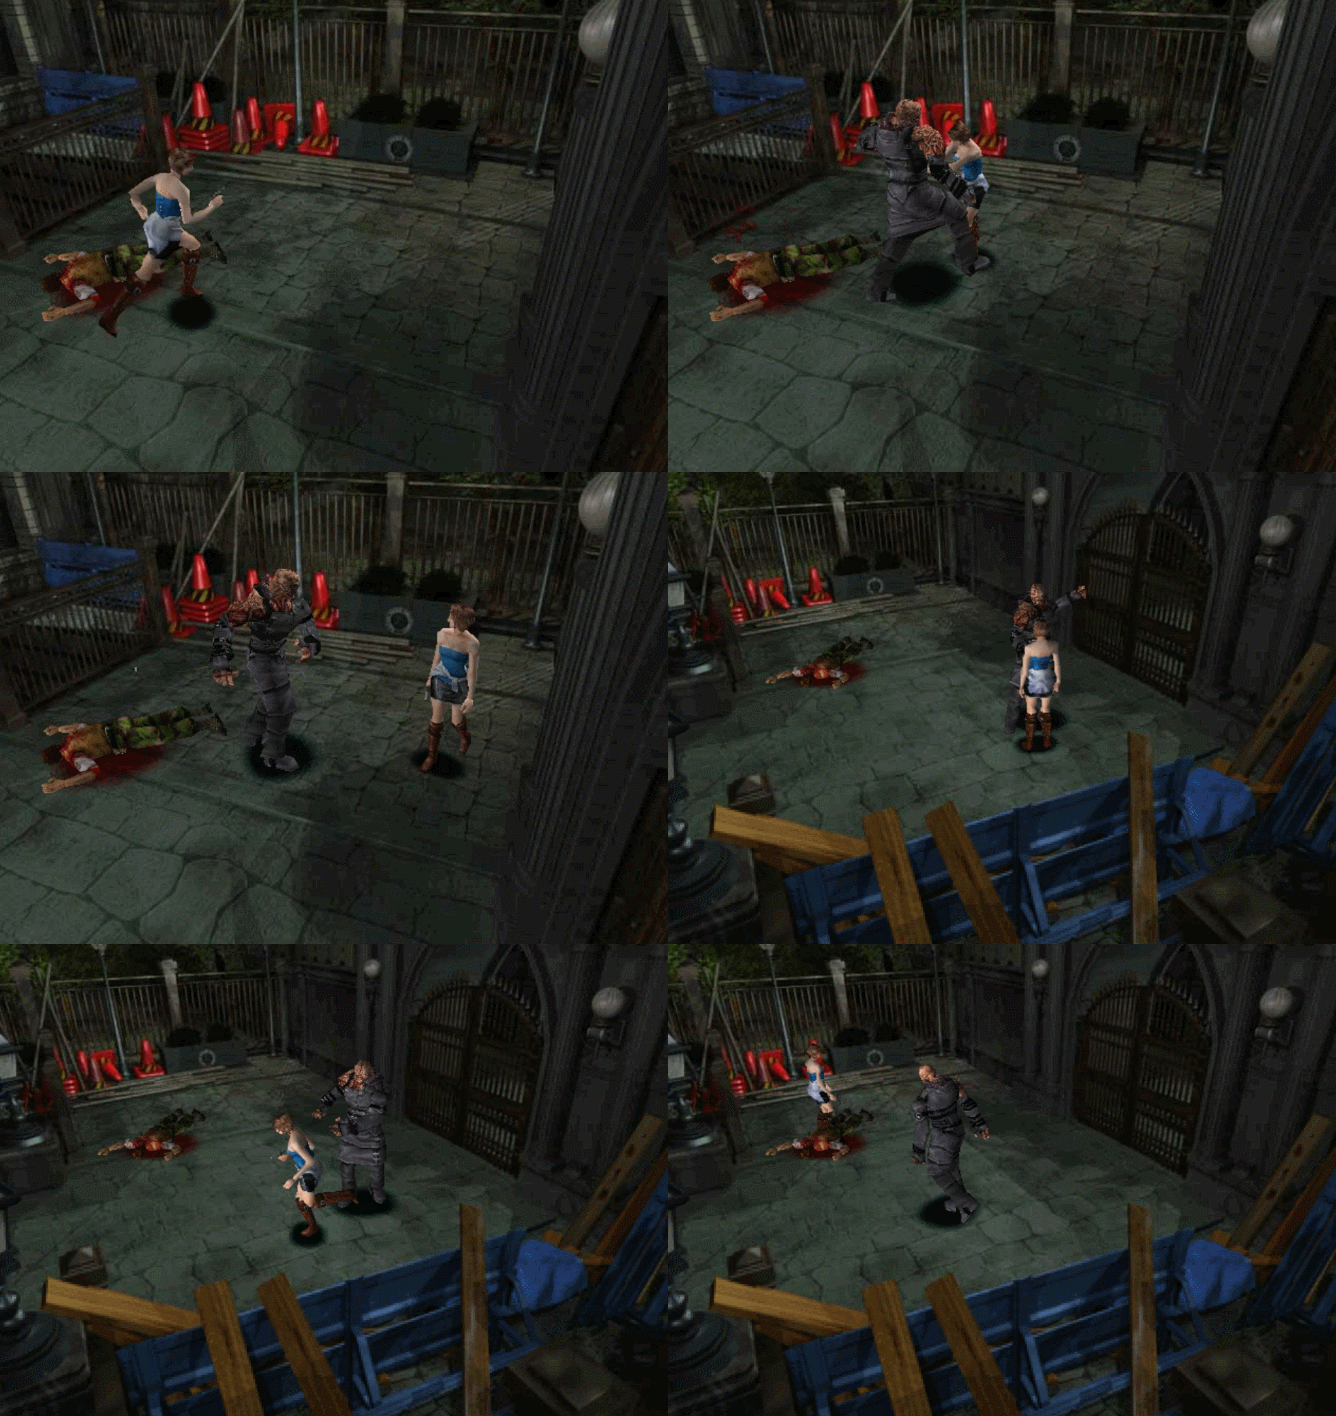
Another element introduced in RE3 (although it has subsequently returned in Revelations 1, and it looks like REmake 3 as well) is the ability to dodge. This was a way of quickly avoiding harm, and sometimes even countering oncoming attacks, marking a notable attempt to shake up the standard tank-controls of the series. The drawback to this, however, is what a hit or miss pain in the ass it is to pull off. When an enemy is close enough to attack you, tap the aim button just as they start to swipe at you. This can very easily fail, as the timing needs to be extremely precise, but if you pull it off correctly, you can avoid major damage.
Difficulty
While most of the games in this series do little more than increase damage values and decrease ammo count on higher difficulty levels, Resident Evil 3 goes all out. There are major differences between the two modes, Easy and Hard (note the lack of a “Normal” difficulty), and the challenge can be as different as night and day, based on your skill level.
As I’ve mentioned previously, there are several noticeable changes from the word go. On Easy, you have unlimited saves and access to the F. Aid Box immediately, while on Hard, you’re back to scouring for ink ribbons and the F. Aid Box requires conquering a difficult enemy to acquire it. The biggest difference is that there are multiple weapons that you either can’t acquire until later in the game on Hard (while on Easy they’re available from the word go), and there are several you can’t obtain at all on Easy. This makes the pros and cons pretty stark between the two options, and adds a lot of replayability. Want a smooth, mostly stress-free, fun ride through Raccoon? Go with Easy. Want one of the hardest-core Resident Evil experiences of the original trilogy but with the most reward to match? Try your hand at Hard.
Two of the weapons that can only be collected on the Hard difficulty require you to defeat a major enemy, just like the F. Aid Box (although they’re acquired in pieces and must be assembled by the player). What is this all-powerful enemy you ask? Well, it’s about time we talked about…
NEMESIS
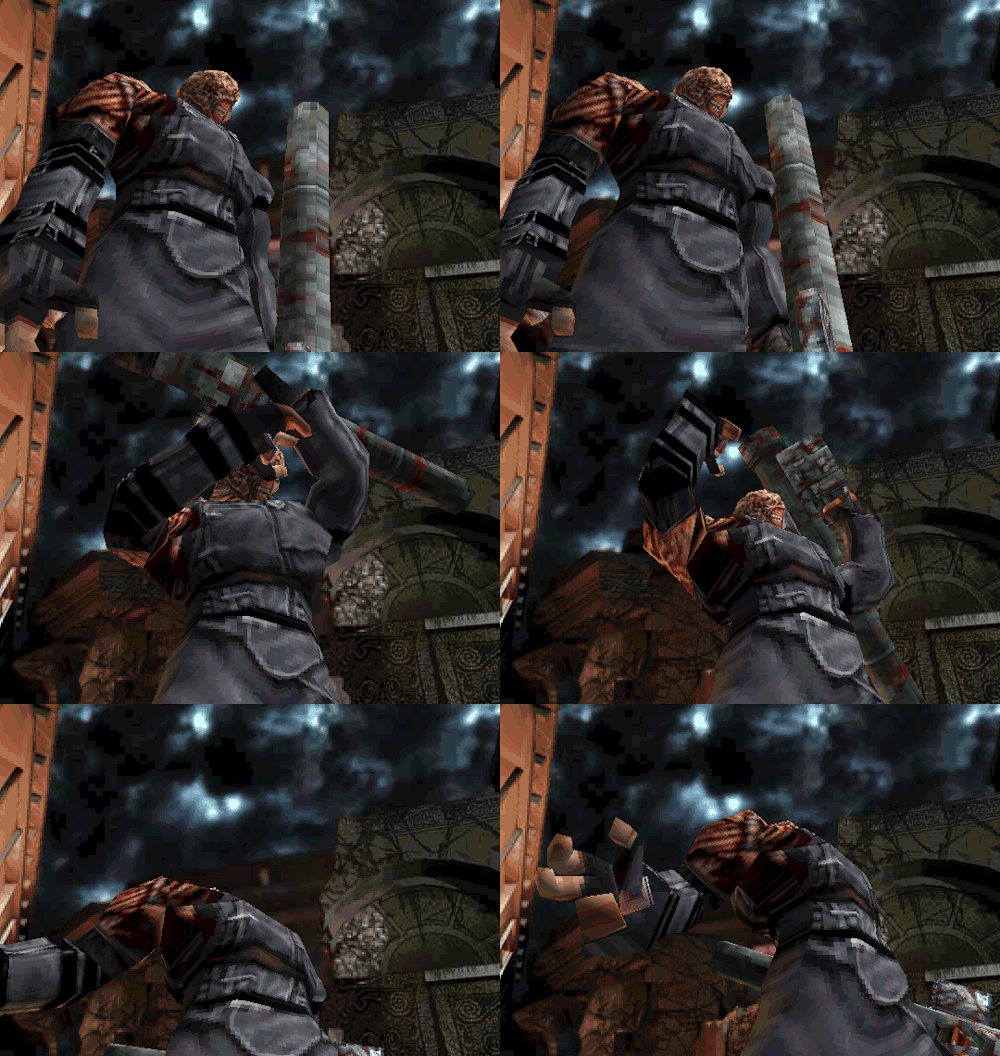
You knew we had to get here eventually. Resident Evil 3‘s titular (in the West) monster, the Nemesis, is one of, if not simply the, most iconic creatures in the entire series. From his lipless grin to his stapled face, Nemesis carries a weight of uber badassery to his presence that even the movies couldn’t fuck up. The Nemesis T-Type, also known simply as The Pursuer, is a deadly BioWeapon that’s more than a Tyrant ++, he’s a deadly and efficient Terminator that hunts down Jill throughout the entirety of RE3‘s story.
Unlike RE2‘s Mr. X, who was a mostly mindless automaton that appeared according to the script (he literally can’t follow you through most doorways, and stomps toward you like Frankenstein’s monster), Nemesis is a versatile killer that charges at you down alleyways, swings at you with his fists and whips you with tentacles that sprout forth from his palm. Even worse, Nemesis is capable of using a powerful rocket launcher to blow massive chunks of your health off from afar, making him something of an “all-terrain” beast. Nemesis is not something to mess with, and if at all possible make like a tree and get the fuck out of there. Of course, if you do choose to stand your ground and fight, there are rewards to reap.
On Hard difficulty, Nemesis will drop special weapons and items as a payoff for defeating him. He won’t stay down for good, of course, but bringing him down can yield spectacular prizes. From special items (the F. Aid Box) to weapons (parts for a more powerful handgun), defeating Nemesis most certainly isn’t a waste of your time, but it can be extremely taxing on your resources. It takes a ton of ammo to bring him down, and most likely a lot of health items (if not all of them you brought with you), but if you’re willing to make that exchange, it’s definitely worth it in the long run.
If you’re looking to put him down and collect those sweet, sweet items he drops, try experimenting with different combinations of stopping power weapons. The pistol and shotgun are but pea-shooters to the Pursuer, so trading up for the grenade launcher or magnum is a must. Very few enemies in the game will require the same level of damage output that Nemesis does, so unless absolutely necessary, try and save your strongest rounds for him. The more difficult to find, the more useful it is in Nemesis encounters. On top of this, Nemesis is probably the best creature to try to perfect the dodge mechanic with. Since his movements are generally a lot more telegraphed than that of the smaller creatures, you’ll have a smidge more time to nail that dodge sweet spot. Whether it’s a swing of his mighty fist, a swipe of a tentacle or even one of his deadly rockets, Jill has a chance of dodging it all, saving you in a tough fight against him (especially on Hard). Strategizing with these two key components is the key to victory!
While the game gives off the impression that Nemesis will hunt you down on a constant basis (à la Mr. X’s revamped version in REmake 2), this actually isn’t the case. Nemesis mostly appears as per scripted events, and there are plenty of areas he can’t end up in (but that doesn’t mean there aren’t areas he doesn’t continuously stalk). Unlike Mr. X, Nemesis will chase you through multiple doors and can hang around certain locations where he’ll charge you and lay down the bitch-slap of the century. Generally speaking, if you hear the track Feel The Tension, he’s around, somewhere, in the darkness, lying in wait for you. Never, ever, let your guard down when that music is audible. That said, the scripted events can be a surprise, and are quite frequent, so unless you already know when to expect him, he’ll still catch you off guard when it’s part of the story.
Unlockables and Bonus Content
Costumes – One of the few mainstay unlockables in the series. Resident Evil 3, of course, retains a selection of unlockable bonus costumes to change into. Since Resident Evil 3 doesn’t have multiple scenarios, there are only costumes for Jill, and just like RE1 and RE2, they require traveling to a special location and unlocking it with a key to gain access to your new looks. In this game, the location is the HM Boutique, an uptown location you come across very early in the game. On your first playthrough, the door will be locked, but once you’ve completed at least one playthrough you will start your next with the boutique key already in your item box (save for the PC and Dreamcast ports, where they’re unlocked from the word go). The costumes you unlock are tied to your clear ranking, starting with rank D and going up to rank S:
D Rank: S.T.A.R.S. Uniform – This is Jill’s classic Resident Evil 1 look, complete with beret. This is actually pretty cool to see, as it’s based on the original 1996 version of her uniform rather than the 2002 REmake version (which has a lot more “functional” detailing), and this is the nicest we’ve ever seen that version look.
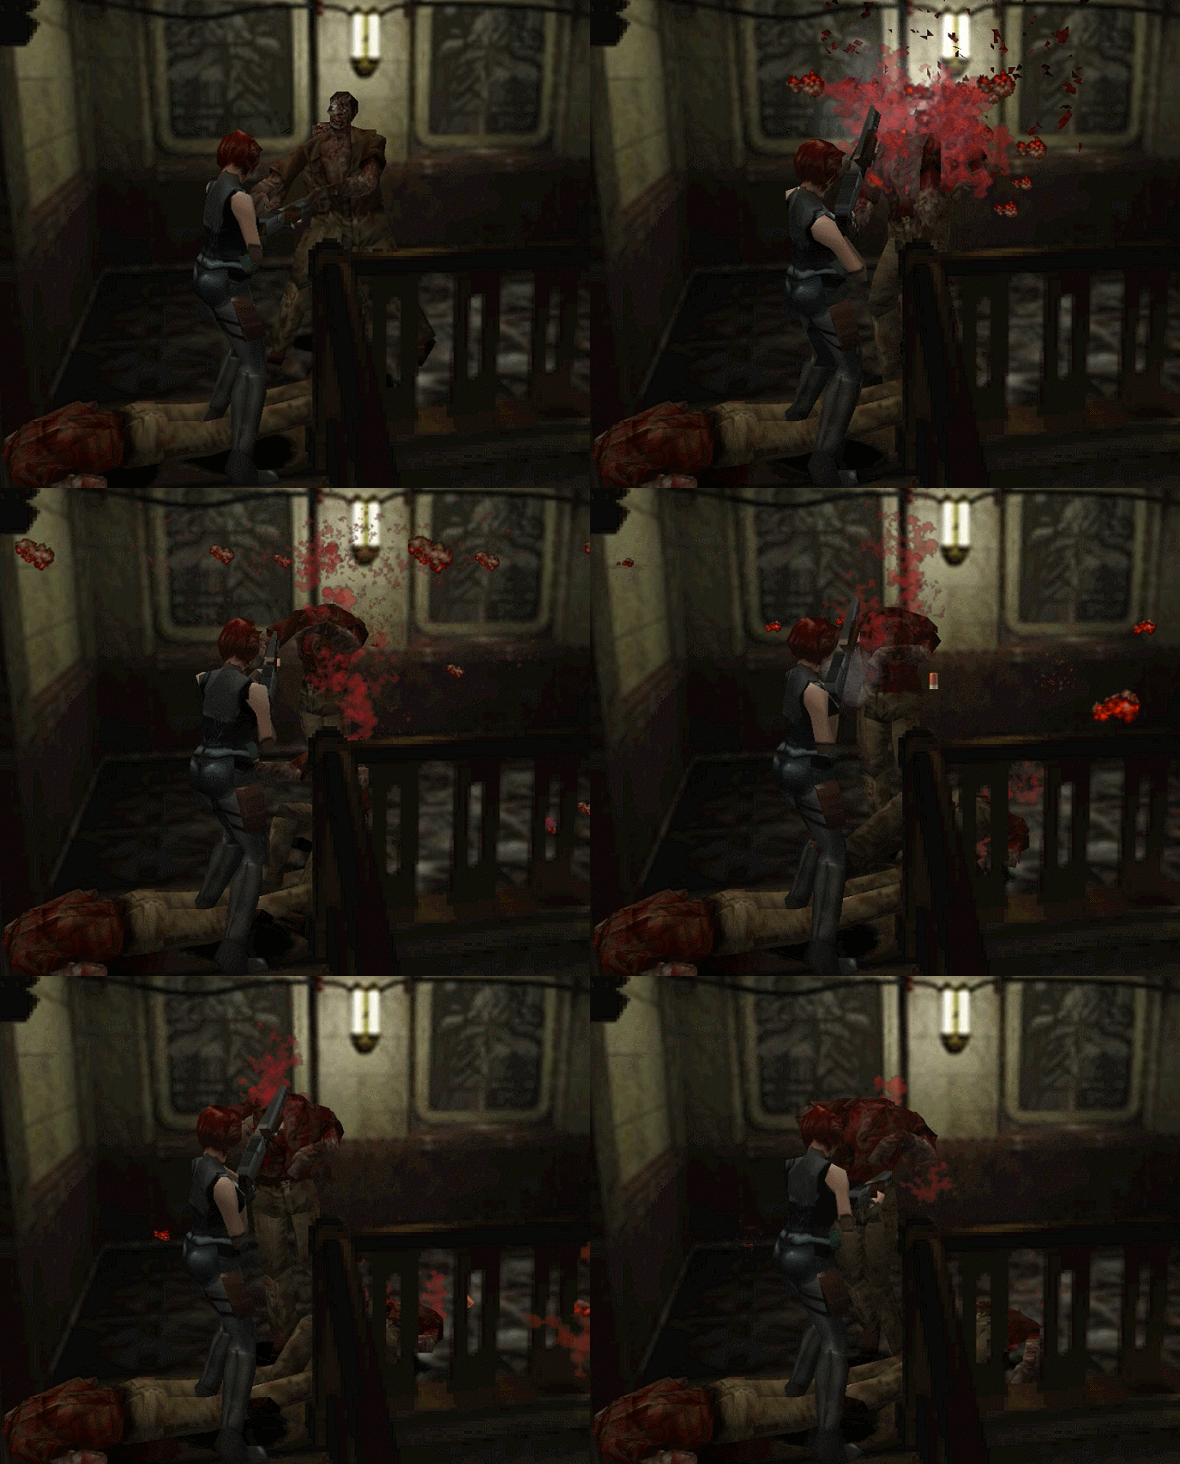
C Rank: Regina Outfit – This costume should be familiar to die-hard survival horror fans. This costume turns Jill into Regina from 1999’s Dino Crisis, complete with red hair!
B Rank: Biker Outfit – Here we find Jill ready to rock ‘n roll, with a sort of Bloodrayne (although that series wouldn’t exist for a few more years at the time) meets Ghost Rider vibe. Complete with choker, this is the goth look for those of you upholding The Masquerade.
A Rank: Disco Outfit – Inspired by Tony Manero’s digs from the 1977 film Saturday Night Fever, this gives Jill a style too groovy for words.
S Rank: Mini-Skirt Police Uniform – I’d say this was a costume for the pervs in the audience if not for the fact she’s made out of LEGO bricks. Regardless, this skimpy cop uniform feels more at home in the back of a Spencer’s than it does out on the force.
Dreamcast/PC Exclusive: Blue & Black Outfit – Theoretically Jill’s casual clothes; a blue button-down shirt and black pants. Nothing flashy.
PC Exclusive: Black Casual – A modified version of Jill’s default costume, now with a black halter top (rather than a tube top) and a blue skirt (rather than a black one).
Dreamcast Exclusive: Blue Casual – Another modified version of Jill’s default costume, but with a blue tank top and blue mini-skirt. Ironically, somewhat similar to her REmake 3 look.
The Mercenaries: Operation Mad Jackal – The one that started it all. An expansion of the Battle and Extreme Battle modes from Resident Evil (Saturn) and Resident Evil 2, The Mercenaries is a time-attack minigame where you must race from one end of RE3 to the other. You can pick from a group of U.B.C.S. mercenaries to charge through the streets of Raccoon, each with their own unique weapon and inventory loadouts that modify the difficulty:
Mikhail (easy) – Shotgun, Magnum, Rocket Launcher, 21 Shotgun shells, 18 Magnum rounds, 1 Mixed Herb
Carlos (normal) – Machine Gun, Enhanced Handgun, 90 Handgun rounds, 3 Mixed Herbs
Nicholi (hard) – Handgun, Knife, 1 Blue Herb, 3 F. Aid Sprays
Killing monsters will grant a time bonus, and enemy kills can be stacked for larger and larger bonuses. You can also locate survivors around the city that will increase your time and score bonuses when rescuing them. The more kills, the more time, the more points. Clearing The Mercenaries with any character will award you with a ranking and “Undead Culling Cash,” which can be spent on unlockables for the main game. Those include:
Infinite Machine Gun – $2,000
Infinite Gattling Gun – $3,000
Infinite Rocket Launcher – $4,000
Infinite Ammo for All Weapons – $9,999
All of these will appear in your item box upon starting a game on the same save the purchase was saved to.
Epilogues – If you’re hungry for Resident Evil lore, you can unlock a treasure trove of lore epilogues that span the events of RE1-3 upon completing the game on Hard difficulty. Each subsequent clear on Hard (on the same save file) will reward you with a new epilogue. While several of these serve as setups to future games in the series that have since come to pass (directly tying into the events of Code: Veronica, RE4, and even RE6), it’s still amazingly cool to read them. Plus, the final one you unlock is exciting for fans of HUNK, as it’s one of the clearest shots we have of his un-masked face in the entire (officially released) series.
That does it for Resident Evil 3 ’99. No cheat codes or weird easter egg stuff (outside a handful of “Oh, that sign says BioHazard 4, haha” stuff). Hopefully, you’ll be set for diving into this classic for the first time (or yet again) before we all settle in for the grand revival with Resident Evil 3 Remake. It’s incredible to imagine that the entire original trilogy will have been remade now, but we’re here. Hopefully, REmake 3 will simply blow our expectations out of the water come April 3rd, 2020, when it releases on Xbox One, PlayStation 4, and PC.

 sisslethecat


